Have you noticed the pungent smell of gas near your water heater? Or perhaps your pilot light just won’t stay lit? These are telltale signs that your gas valve might be compromised and need replacing. This guide provides a comprehensive walkthrough on How To Replace A Gas Valve On A Water Heater, equipping you with the knowledge to tackle this task safely and effectively.
Understanding the Crucial Role of Your Gas Valve
The gas valve is the heart of your gas water heater, regulating the flow of natural gas or propane that fuels the burner. This critical component ensures the safe and controlled delivery of gas, preventing leaks and ensuring efficient combustion for heating your water.
When to Replace a Gas Valve on a Water Heater: Recognizing the Warning Signs
A malfunctioning gas valve can disrupt your hot water supply and pose serious safety risks. Here are some common indicators that warrant a gas valve replacement:
- Gas Leaks: The most alarming sign is the distinct smell of rotten eggs, indicating a gas leak. Immediately turn off the gas supply and call a qualified plumber.
- Pilot Light Issues: Difficulty lighting the pilot light or a pilot light that won’t stay lit suggests a problem with the thermocouple or the gas valve itself.
- Water Temperature Fluctuations: Inconsistent water temperatures, ranging from lukewarm to scalding hot, can signify a failing gas valve.
- Visible Damage: Any physical damage to the gas valve, such as cracks or corrosion, necessitates immediate replacement.
Can a homeowner replace a gas valve on a water heater?
While this guide provides a step-by-step overview, working with gas lines requires specialized knowledge and skills. It’s highly recommended to contact a licensed plumber for a safe and correct installation.
Gathering the Necessary Tools and Materials
Before you begin, assemble the following:
- New Gas Valve: Ensure it’s the correct model and size for your water heater.
- Adjustable Wrench
- Pipe Wrench
- Gas Pipe Thread Tape
- Soap Solution (for leak testing)
- Safety Glasses and Work Gloves
Step-by-Step Guide: Replacing Your Gas Valve
1. Safety First: Disconnect Power and Gas Supply
- Turn off the gas supply: Locate the gas shut-off valve leading to your water heater and turn it clockwise to the “off” position.
- Cut off the power supply: For electric ignition systems, turn off the circuit breaker dedicated to your water heater.
2. Drain the Water Heater
- Close the cold water supply valve.
- Attach a garden hose to the drain valve at the bottom of the water heater and direct the water to a safe drainage area.
- Open the pressure relief valve at the top of the tank to allow air in and facilitate drainage.
3. Disconnect the Gas Control Valve
- Loosen the gas line connection: Using two wrenches to prevent twisting the pipe, loosen the nut connecting the gas line to the control valve.
- Disconnect the control valve: Carefully remove the screws holding the old control valve in place.
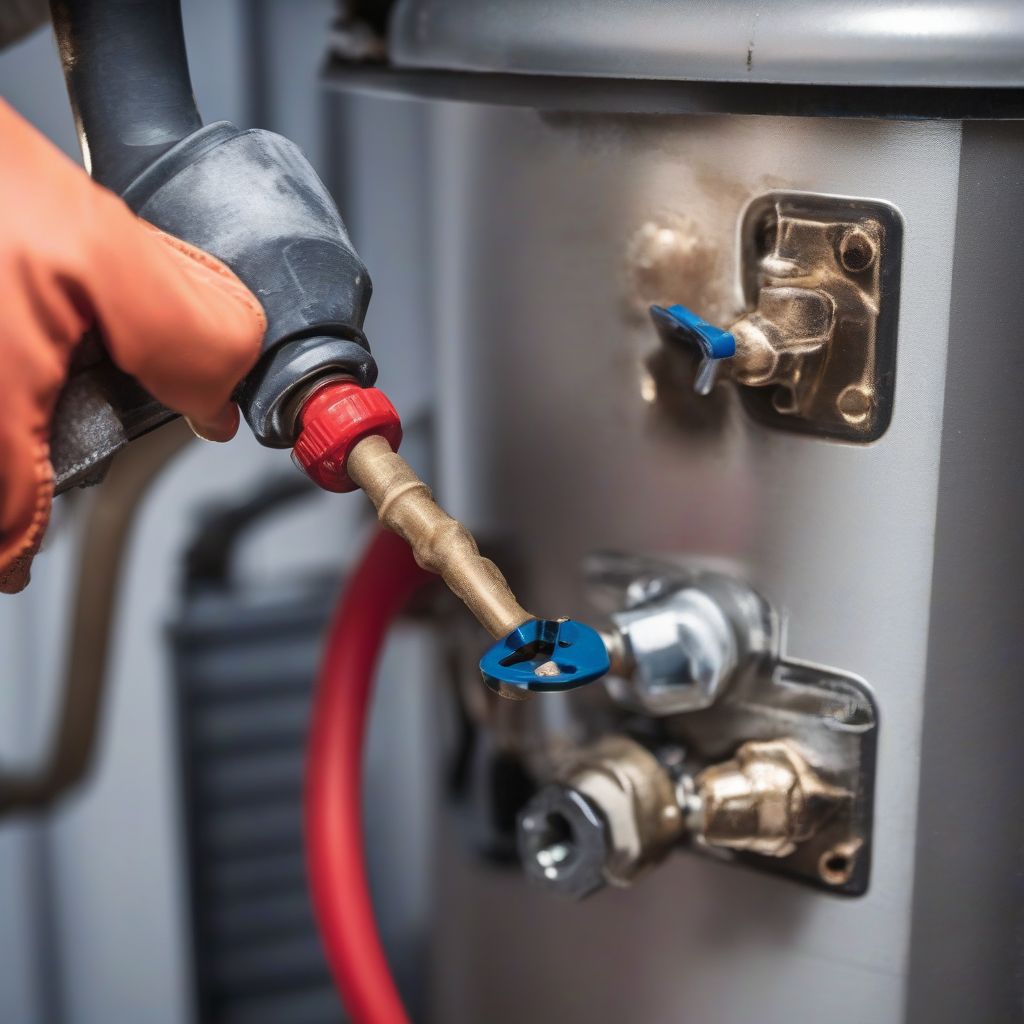 Replacing a Gas Valve
4. Install the New Gas Valve
- Apply gas pipe thread tape: Wrap the threads of the new valve’s inlet and outlet ports with gas pipe thread tape, ensuring a secure seal.
- Securely mount the new valve: Align the new valve with the water heater and tighten the screws evenly.
- Reconnect the gas line: Connect the gas line to the valve’s inlet port, using two wrenches to tighten the nut without overtightening.
5. Refill the Water Heater and Test for Leaks
- Close the drain valve and disconnect the garden hose.
- Slowly open the cold water supply valve, allowing the tank to refill completely.
- Check for leaks: Prepare a soap solution and apply it to all gas connections. Bubbles forming indicate a leak, requiring you to retighten the connections.
6. Restore Gas and Power, and Relight the Pilot Light
- Slowly turn on the gas supply valve.
- Follow the manufacturer’s instructions to relight the pilot light.
7. Monitor Water Temperature and System Performance
After replacing the gas valve, closely monitor your water heater for any unusual noises, leaks, or temperature fluctuations.
Additional Tips and Safety Precautions
- Consult local codes: Plumbing codes vary, so always check local regulations before undertaking any gas appliance repairs.
- Corrosion Prevention: Periodically inspect your gas lines and connections for signs of corrosion, and consider applying a rust inhibitor for added protection.
- Annual Maintenance: Schedule annual water heater maintenance with a qualified plumber to ensure optimal performance and safety.
Conclusion
Replacing a gas valve on a water heater is a task best left to qualified professionals. While this guide offers a step-by-step overview, it’s crucial to prioritize safety and compliance with local codes. Remember, working with gas appliances can be hazardous, and even a minor mistake can have serious consequences. If you’re unsure about any aspect of this process, don’t hesitate to contact a licensed plumber for assistance.