Imagine this: It’s a chilly winter evening, and you’re looking forward to returning to a warm and cozy home. But as you reach for the thermostat, you’re met with a blast of cold air. Your gas furnace refuses to ignite, leaving you shivering in the cold. The culprit? A faulty pilot light.
Gas furnace pilot lights are a crucial component of many heating systems. While modern furnaces often utilize electronic ignitions, older models still rely on these small flames to initiate the heating process. Understanding how to diagnose and even replace a gas furnace pilot light can save you from the discomfort of a cold home and potentially costly service calls.
Delving into the World of Gas Furnace Pilot Lights
Before we dive into the replacement process, it’s essential to understand what a gas furnace pilot light is and why it’s important.
What is a Gas Furnace Pilot Light?
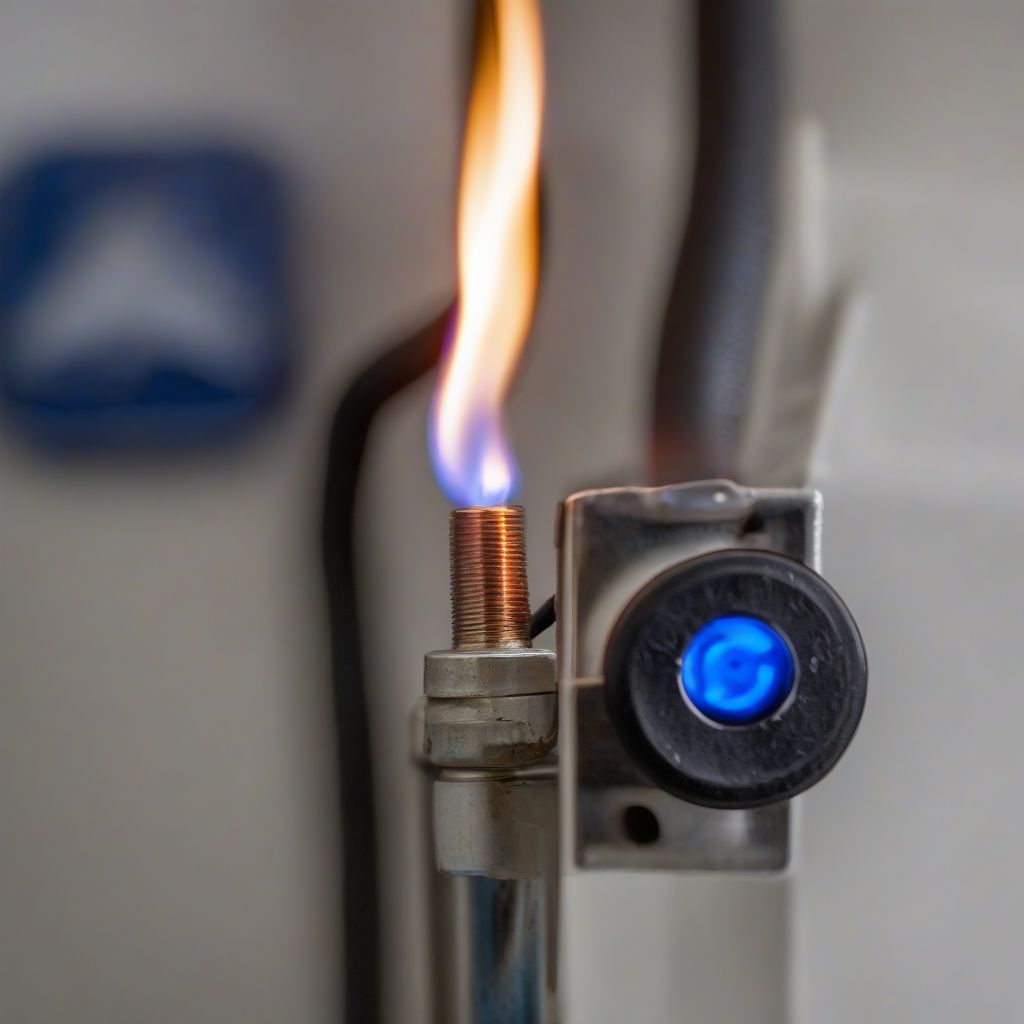
A gas furnace pilot light is a small, continuous flame that sits near the main gas burners in your furnace. This pilot light serves a critical purpose: to ignite the gas flowing to the main burners when the thermostat signals a need for heat.
Think of it like the flame on a gas stovetop burner. You initially light the burner with a spark or lighter, and that flame then ignites the gas flowing out of the burner. Similarly, the pilot light in your furnace ignites the gas released by the main burners, generating the heat that warms your home.
Why is a Pilot Light Necessary?
While modern furnaces often use electronic ignition systems, older models with pilot lights are still common. Here’s why these small flames are so important:
- Reliable Ignition: A continuous pilot light ensures a ready source of ignition for the main burners. This eliminates the need for complex electronic ignition systems in older furnace models.
- Safety: The pilot light also plays a safety role. It ensures that gas doesn’t build up in the furnace before ignition. The constant flame burns off any small amounts of gas that might leak, preventing potential hazards.
Common Pilot Light Problems
Over time, pilot lights can encounter issues, leading to heating disruptions. Here are some common problems:
- Pilot Light Goes Out: This is often caused by drafts, a buildup of dirt or debris, or a faulty thermocouple (a safety device that controls the gas flow to the pilot light).
- Weak or Yellow Flame: A healthy pilot light should burn blue with a distinct yellow tip. A weak or entirely yellow flame indicates an issue with the gas-air mixture and should be addressed.
- Pilot Light Won’t Stay Lit: This could be due to a malfunctioning thermocouple or a problem with the gas supply line.
Troubleshooting and Replacing a Gas Furnace Pilot Light
Now, let’s explore the process of troubleshooting and replacing a gas furnace pilot light.
1. Safety First:
Before attempting any work on your gas furnace, ensure safety is your top priority.
- Turn off the Gas Supply: Locate the gas valve leading to your furnace and shut it off completely.
- Ventilate the Area: Open windows and doors to ensure proper ventilation, as gas leaks can be hazardous.
- Consult Your Furnace Manual: Refer to your furnace’s user manual for specific instructions and safety precautions.
Important Note: If you’re uncomfortable working with gas appliances, it’s always best to contact a qualified HVAC technician for assistance.
2. Troubleshooting:
Before replacing the pilot light, check for these common issues:
- Check for Drafts: Ensure there are no drafts near the furnace that might be extinguishing the pilot light.
- Clean the Pilot Light Area: Using a soft brush and a vacuum cleaner, carefully remove any dirt, dust, or debris around the pilot light and burner assembly.
- Inspect the Thermocouple: The thermocouple is a small copper rod located near the pilot light. Ensure it’s clean and free of any debris.
3. Replacing the Pilot Light:
If troubleshooting doesn’t resolve the issue, you may need to replace the pilot light assembly. Here’s a general guide:
- Gather Necessary Tools: You’ll need a wrench, pliers, and possibly a screwdriver, depending on your furnace model.
- Locate the Pilot Light Assembly: Refer to your furnace manual to identify the pilot light assembly.
- Remove the Old Assembly: Carefully disconnect the gas line connected to the pilot light assembly. Use a wrench to loosen the assembly and remove it.
- Install the New Assembly: Align the new pilot light assembly with the gas line and tighten it securely with a wrench.
- Relight the Pilot Light: Follow the instructions in your furnace manual to relight the pilot light. This usually involves holding down a reset button while igniting the pilot light with a long lighter.
 Gas Furnace Pilot Light
When to Call a Professional
While replacing a gas furnace pilot light can be a DIY task for some, certain situations warrant calling a qualified HVAC technician:
- Gas Odor: If you smell gas at any point, immediately evacuate your home and call your gas company and a qualified technician.
- Repeated Pilot Light Issues: If you experience frequent pilot light problems, it could indicate a more significant issue with your furnace that requires professional attention.
- Lack of Confidence: If you’re unsure or uncomfortable performing any of the steps outlined above, it’s always best to err on the side of caution and contact a professional.
Ensuring Optimal Furnace Performance
Regular furnace maintenance is essential for safe and efficient operation. Here are some tips:
- Schedule Annual Inspections: Have your furnace inspected and serviced annually by a qualified technician.
- Replace Air Filters: Change your furnace air filter regularly, ideally every 1-3 months, to ensure proper airflow.
- Install a Carbon Monoxide Detector: Carbon monoxide is a colorless, odorless gas that can be deadly. Install detectors near your furnace and throughout your home.
Conclusion: Staying Warm and Safe
Understanding how your gas furnace pilot light works and knowing how to troubleshoot and potentially replace it can be empowering. By following the safety guidelines and steps outlined above, you can ensure your furnace keeps you warm and comfortable throughout the colder months. Remember, when in doubt, always consult a qualified HVAC professional for assistance. Your safety and the well-being of your home are paramount.